THE ART OF TEXTURIZING
Alright, my fellow hair enthusiasts, let’s talk about one of the handiest tricks up our sleeves as professional hairstylists — thinning, also known as texturizing scissors. Sure, we’re all trained, know and work with the classic scissor-over-comb technique to create texture and reduce volume, which of course, as professionals should be mastered. The downside when using the scissor-over-comb technique is that it’s substantially more time consuming than using the evolved tools created for this specific task at hand. And let’s face it, why wouldn’t we use the right tools for the job, it’s simple professional evolution. Yet, this is a tool that’s so often been misused, slightly misunderstood, and sadly not given the recognition as the superhero tool that it is. So let’s go about changing that…
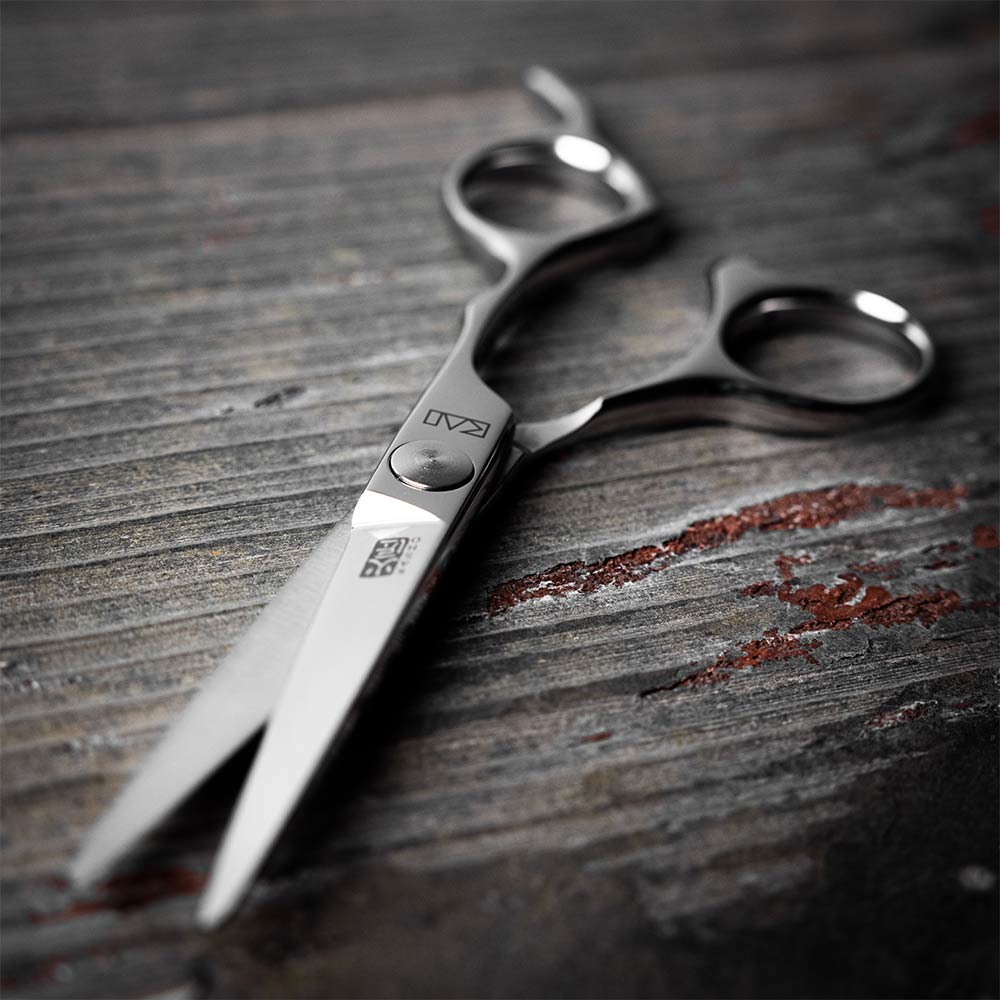
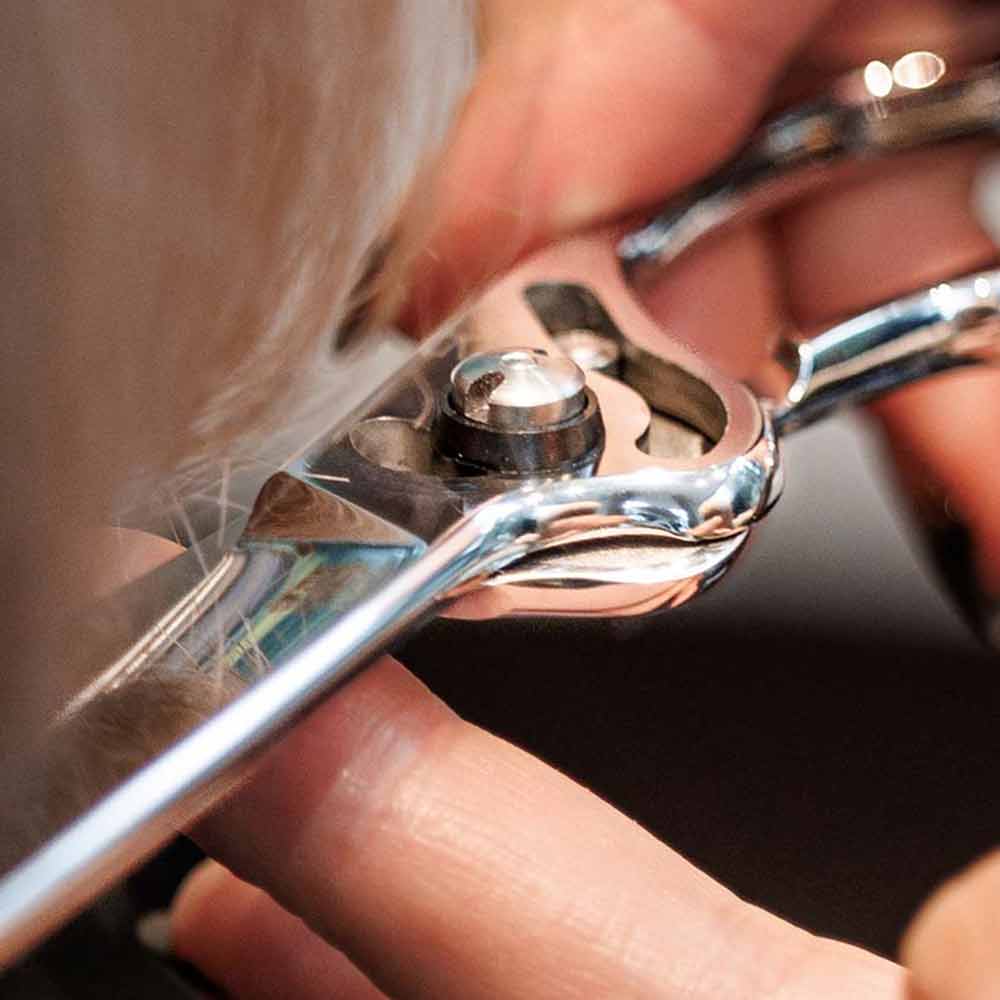
Have you ever actually wondered about the real artistry behind texturizing scissors? Well, today we’re casually diving into the oh-so-brilliant world of cutting hair with these handy tools. My tool-box is fortunate to hold some of the best texturing scissors available on the market, the Kasho Green Series, which are simply incredible. Further down you can scroll through a wide range of options to help you find your next tool, but for now, let’s delve in.

WHY USE TEXTURIZERS TO CREATE TEXTURE?
First thing’s first, why go for texturizing scissors when you’ve got trusty regular ones? Well, texturising scissors aren’t just your run-of-the-mill scissors. They’re designed to selectively remove bulk without sacrificing length. I like to think of them as the artist’s brush for creating texture, volume, and that effortlessly chic look, and they do so without compromising on time or technique.
CHOOSE YOUR WEAPON WISELY
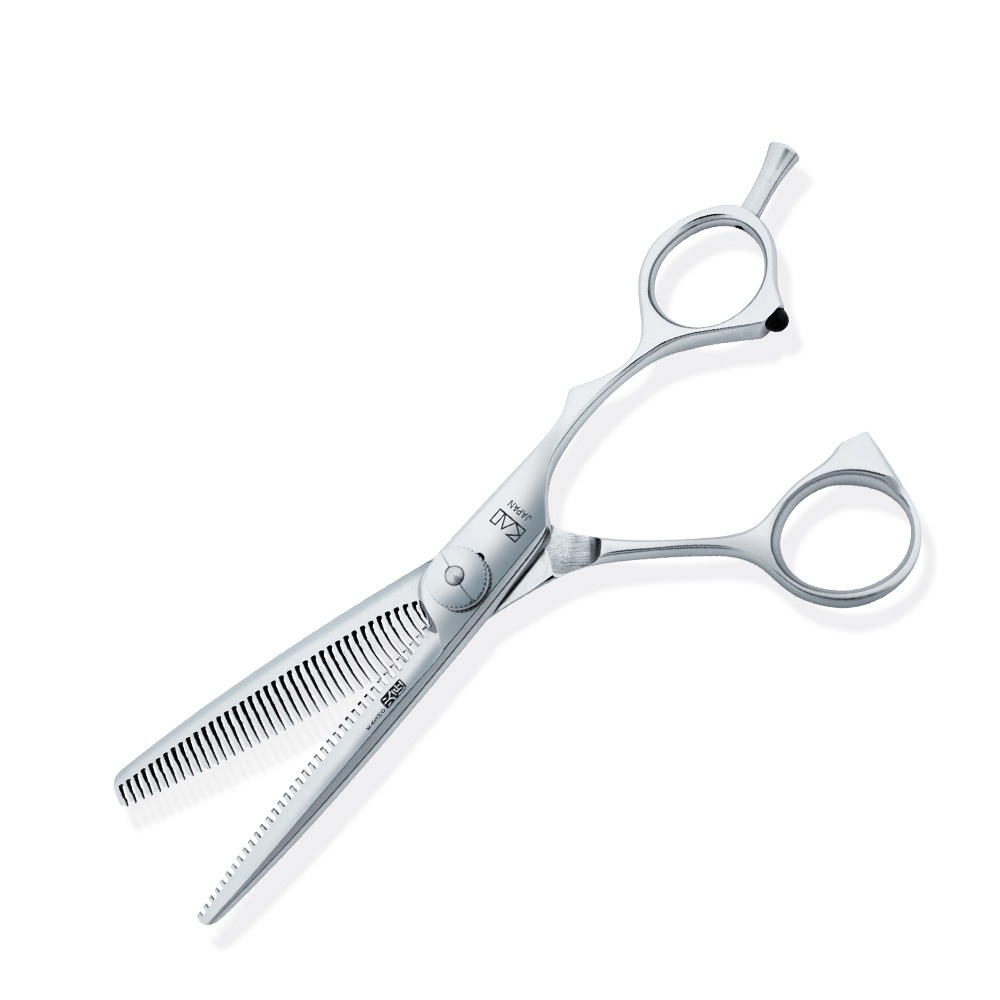
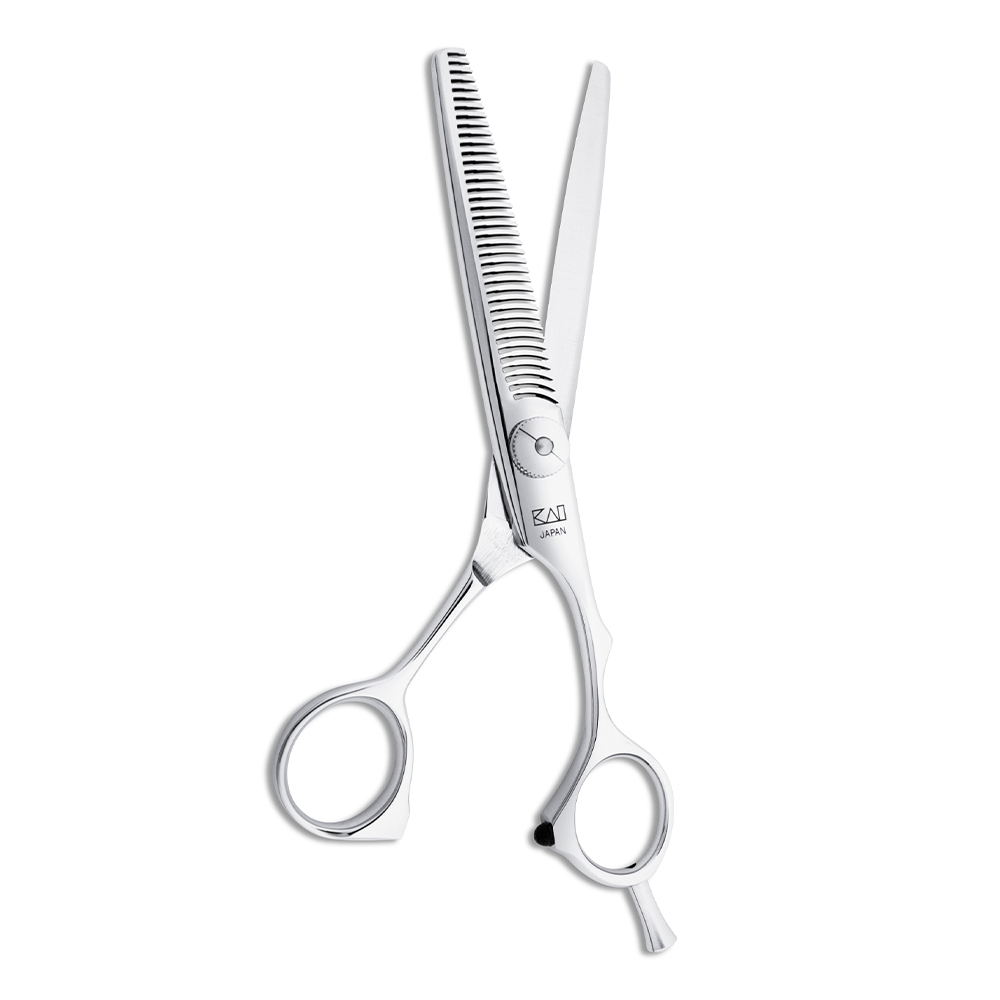
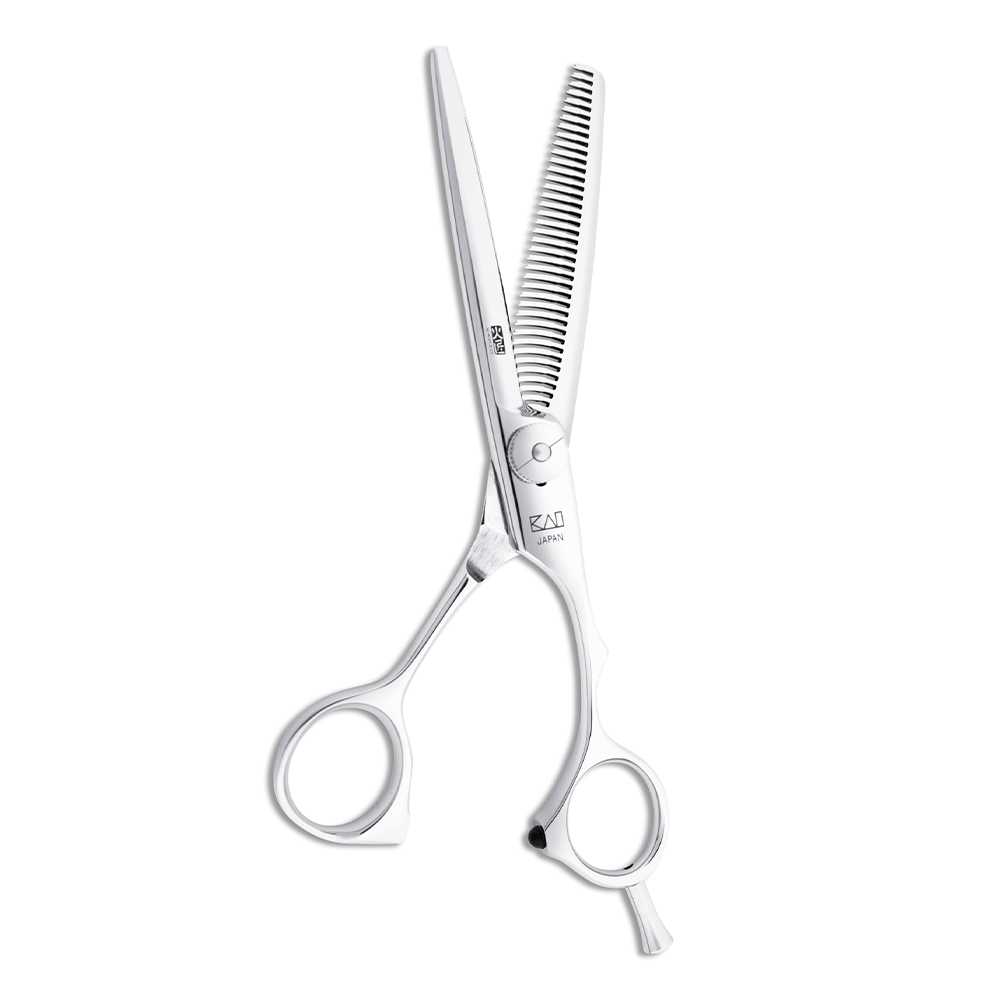
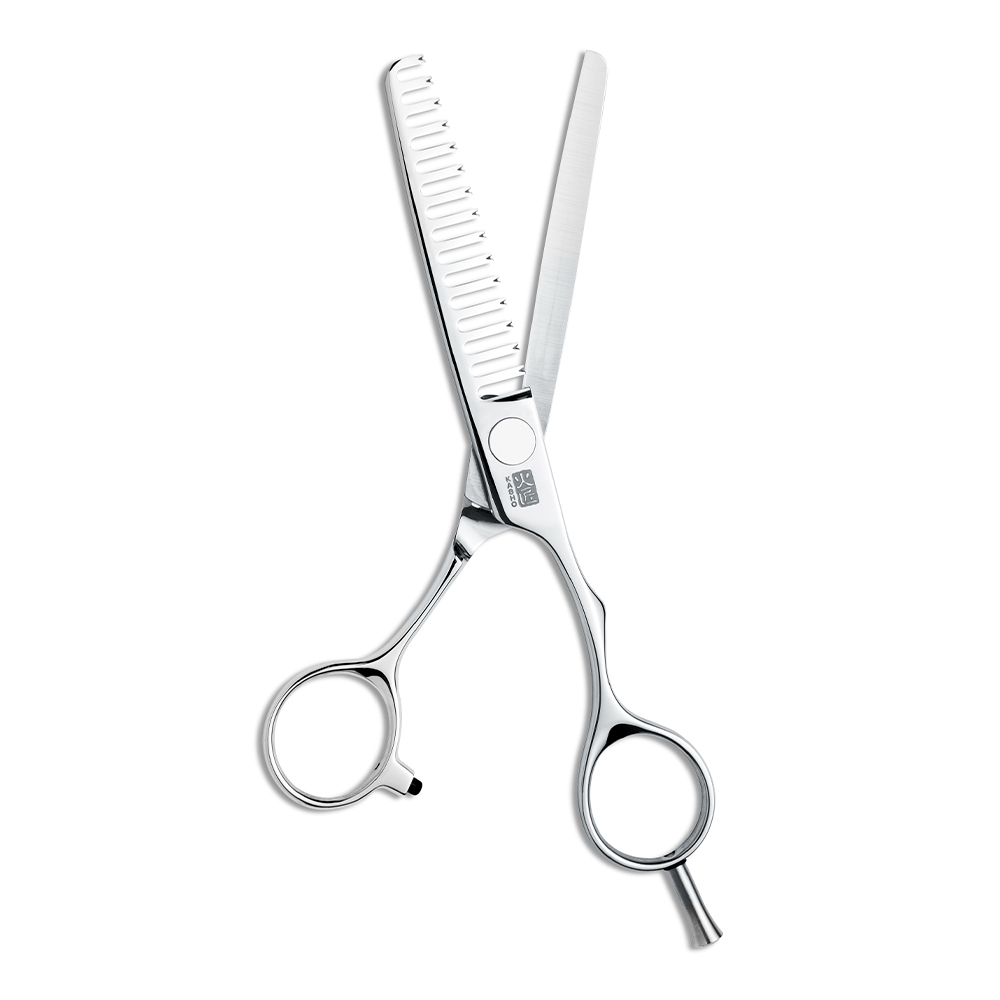
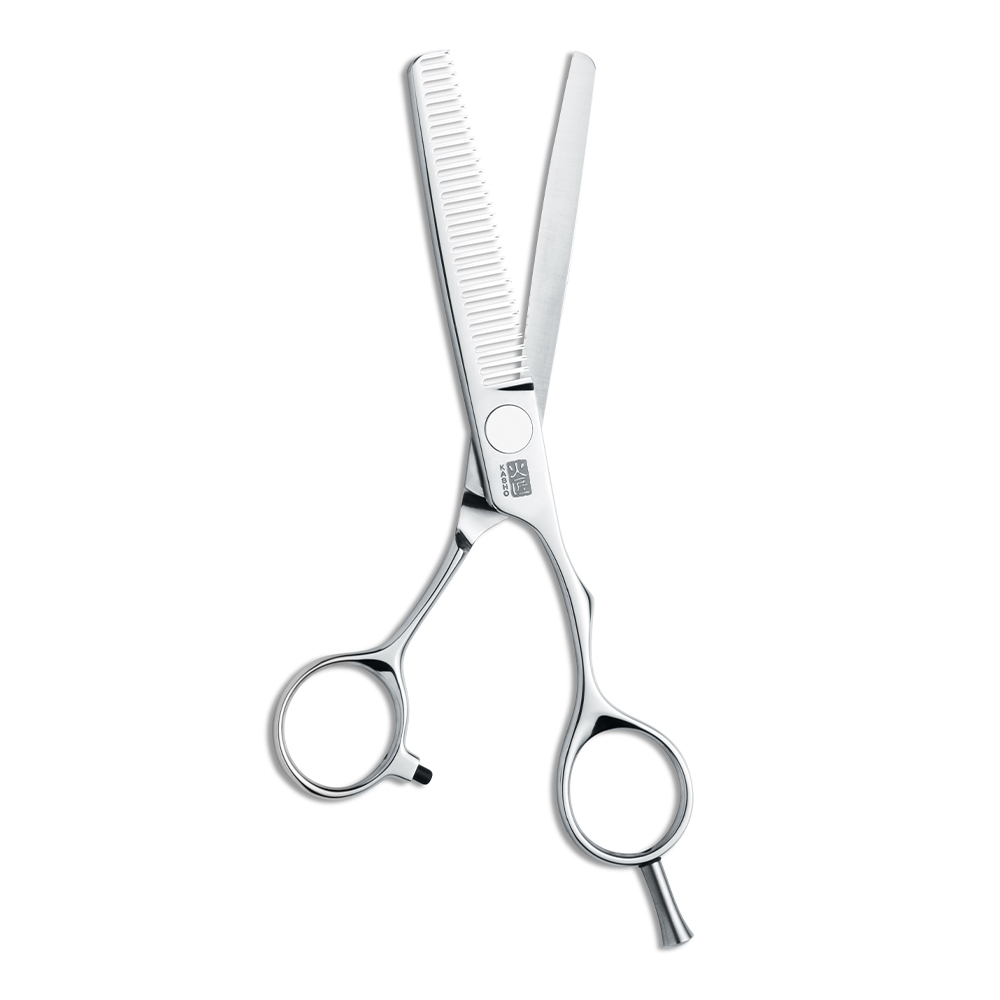
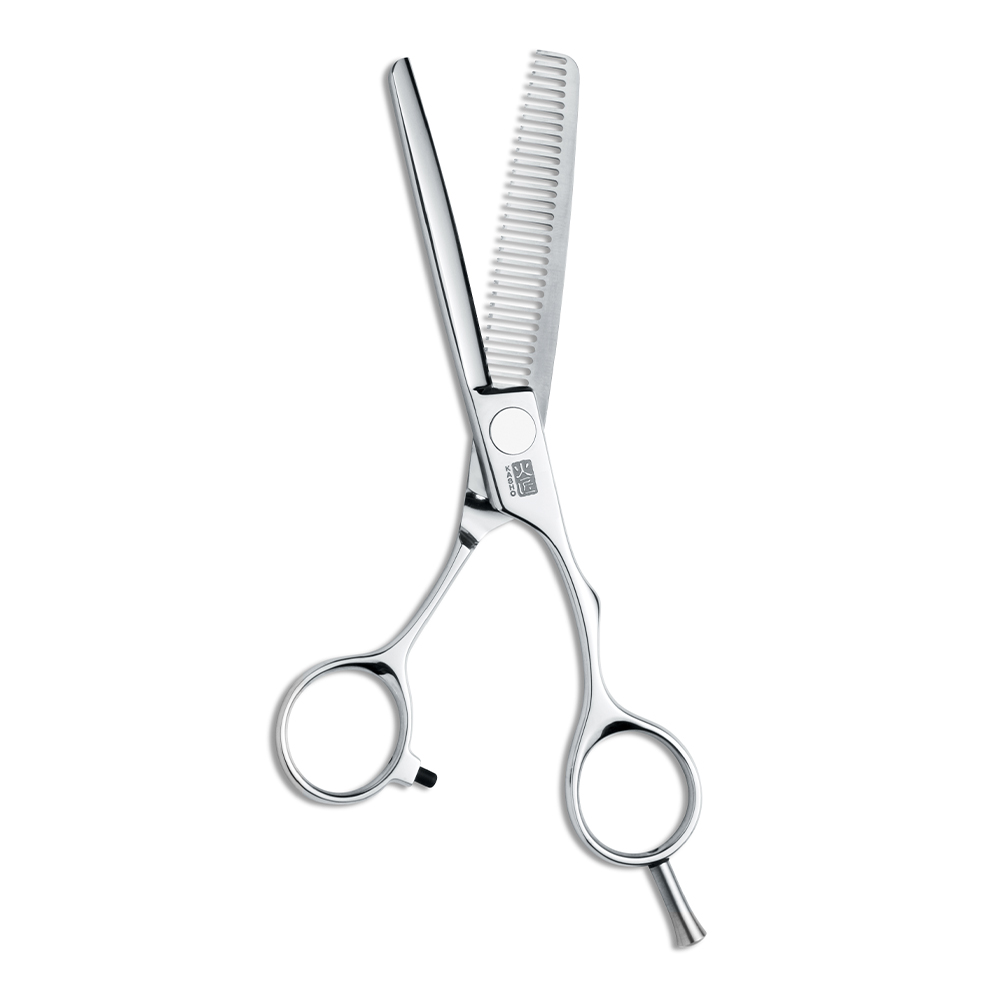
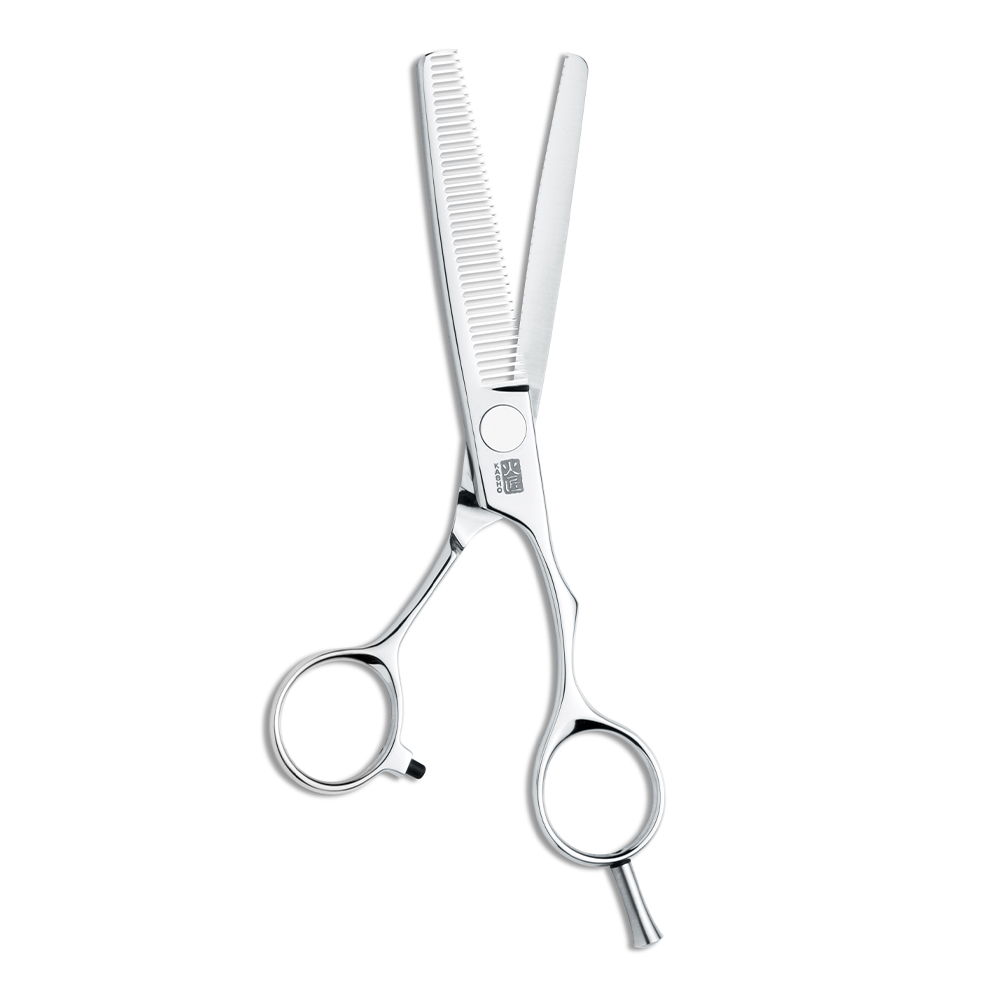
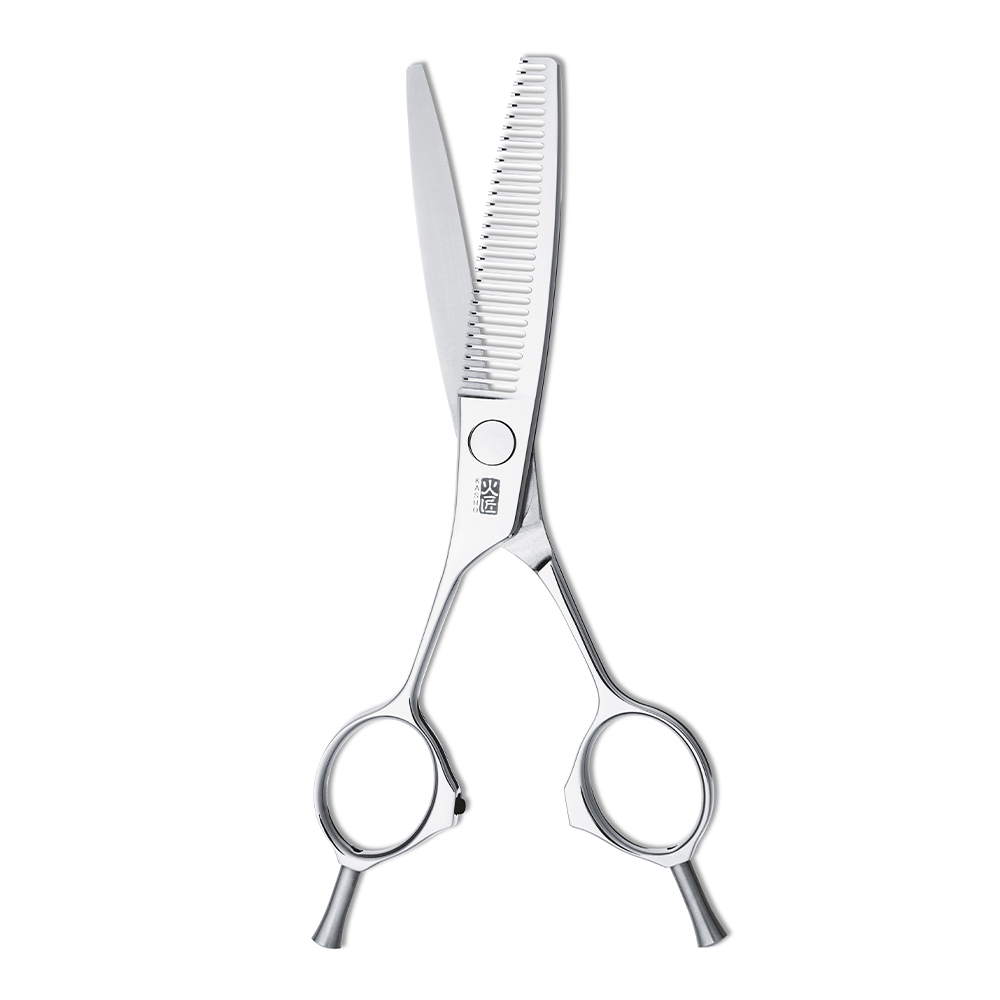
Not all thinning scissors are created equal. There are different types with varying tooth counts, and yes, it does matter. Texturizing scissors with 15-teeth are great for short-medium hair that requires a chunkier effect. The fewer teeth, the less hair is being texturised. 30-teeth is a versatile, midway texturising scissor great for medium to thick hair, creating moderate texture and moderate layers. Then there’s the 38-teeth, best for thick or coarse hair, designed to create a bold, more transformative texture with a significant volume reduction. You need to pick your texturising scissors based on the result you’re aiming for, but ideally, throughout your career, you can add more to your toolbox, giving you a complete set.

15 Teeth
HEAVY CHUNKING

30 Teeth
MODERATE TEXTURE

38 Teeth
BOLD TRANSFORMATIVE TEXTURE
A-TYPE OR B-TYPE – TOP OR BOTTOM BLADE
The entire purpose of this article is to eliminate confusion, so I hope that this next part doesn’t completely mess that up. Because in addition to the amount of teeth, there’re also texturizer variants withTop Teeth Blades and Bottom Teeth Blades. So to keep things non-confusing, let’s briefly break down why.
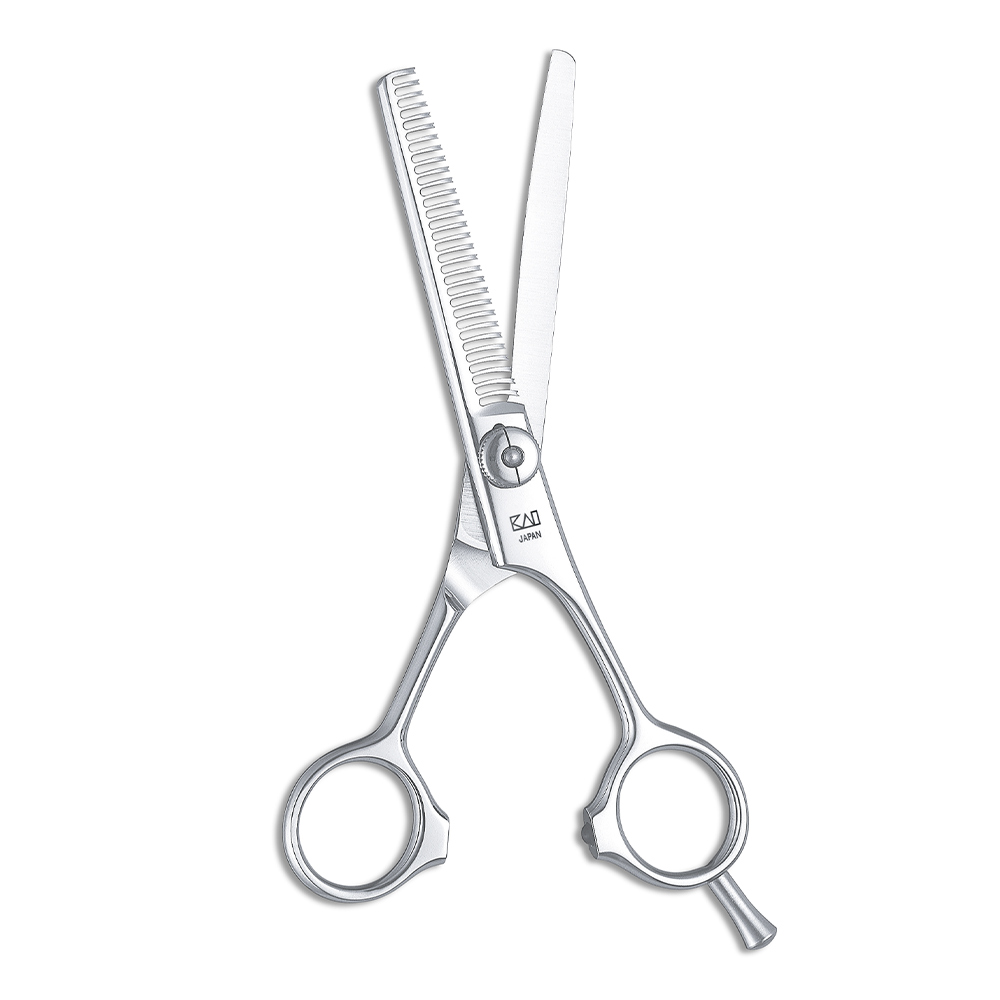
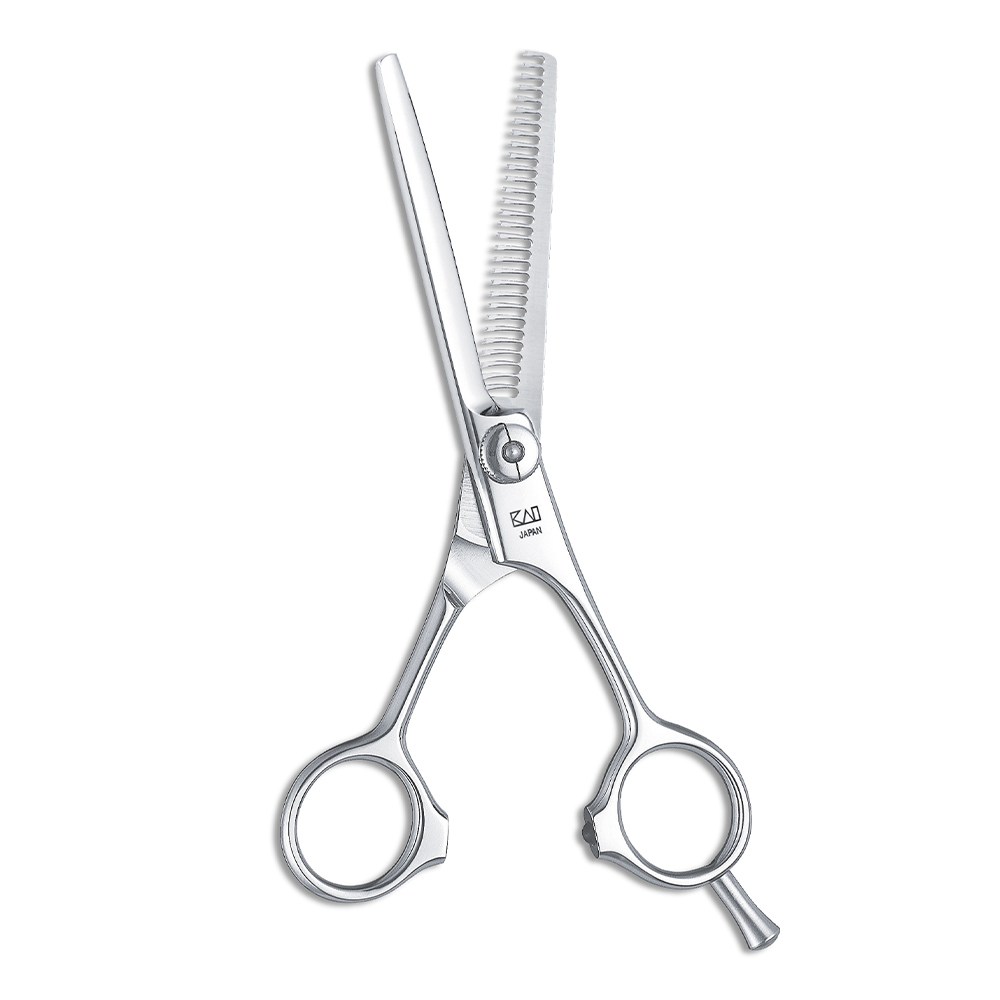
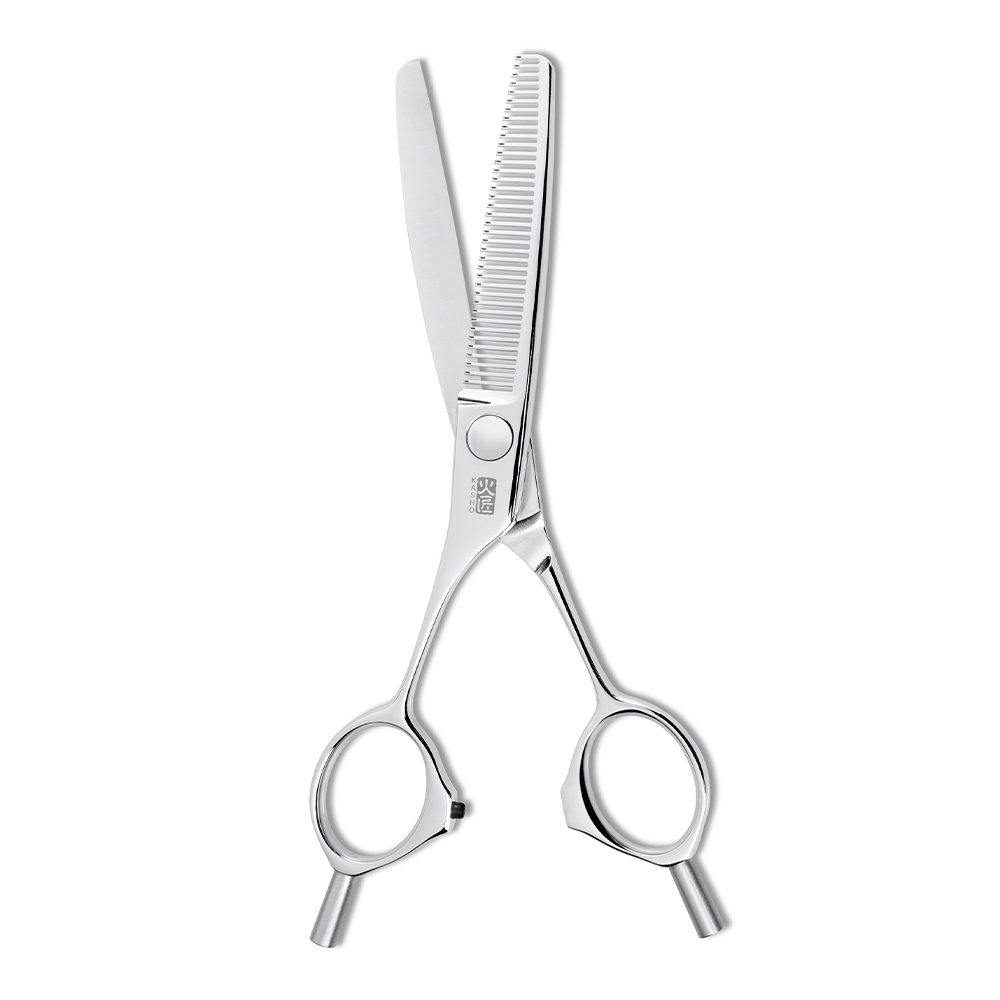
The Top Blade texturizing scissor, which within Kasho is also known as the ‘A-Type’, is mainly used when working on a classic men’s cut and for short hair and transitions. The final result is a harsher texture with duller lines, creating harder contours. Type A is more limited than the ‘B-type’, or Bottom Blade. A bottom teeth blade is often favoured when working with Asian and Middle Eastern hair. Hair that’s straighter and much thicker. Type B is primarily for longer and thicker hair because of the way that long hair falls into the teeth better, but this is absolutely not exclusive. Of the two variants, the Bottom Blade is a more versatile tool for today’s clientele. More of a guaranteed all-rounder.
In fact, if you were to only ever invest in one texturising scissor, I would urge you to invest in the Green Texturising Scissor – KGRS-60 OS WT38B, it’s an offset, Bottom Blade Hybrid texturizer with 38 tapered (slightly curved) teeth and a ballbearing screw system. It’s simply an incredible all-rounder for your tool box.

A-Type
TOP BLADE

B-Type
BOTTOM BLADE

Hybrid
B-TYPE WITH A TWIST
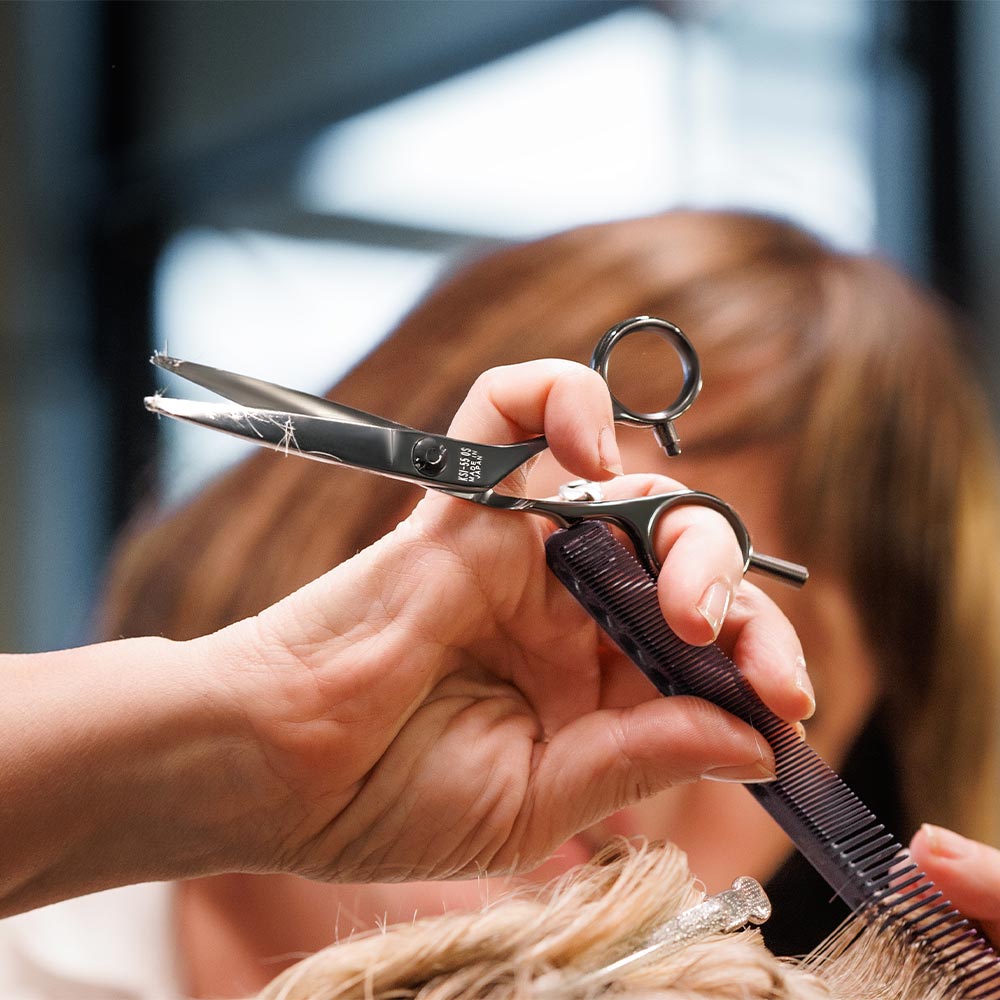
THE TEXTURIZING TECHNIQUE

SECTION, SECTION, SECTION
Just like any great painting starts with a blank canvas, a fabulous haircut starts with well-sectioned hair. Divide the hair into manageable sections and clip away what you’re not working on. This ensures you have control and can see exactly where those texturizing scissors are doing their magic. One of the biggest errors when using this type of scissor is repeating a section and over texturising. Just like everything we do, there is a controlled technique to follow, so section that hair and work methodically.
FIRSTLY GO VERTICAL
Unlike the horizontal action of scissor-over-comb, thinning scissors work best in a vertical motion. Take a small section of hair, hold it vertically, then gently open and close the texturising scissors along the length of the hair. This technique gives you a more naturally textured finish.
SECONDLY BE SELECTIVE
Don’t go thinning-happy on the whole head. Be selective about where you want to reduce bulk or add texture. Common areas include adding volume around the crown, and when creating a feathered look through the ends. This can’t be stressed enough. Don’t go all Edward Scissorhands on your client. This’ll only result in fluff.
FINALLY TEST & ADJUST
Remember, less is more. Start with a few snips and assess the result. You can always take more off, but gluing hair back on is somewhat trickier. Adjust the pressure and the amount of hair you’re working with based on the effect you’re aiming for.
THIS IS WHY IT’S SUCH A GREAT TOOL!
VERSATILITY IN TEXTURE
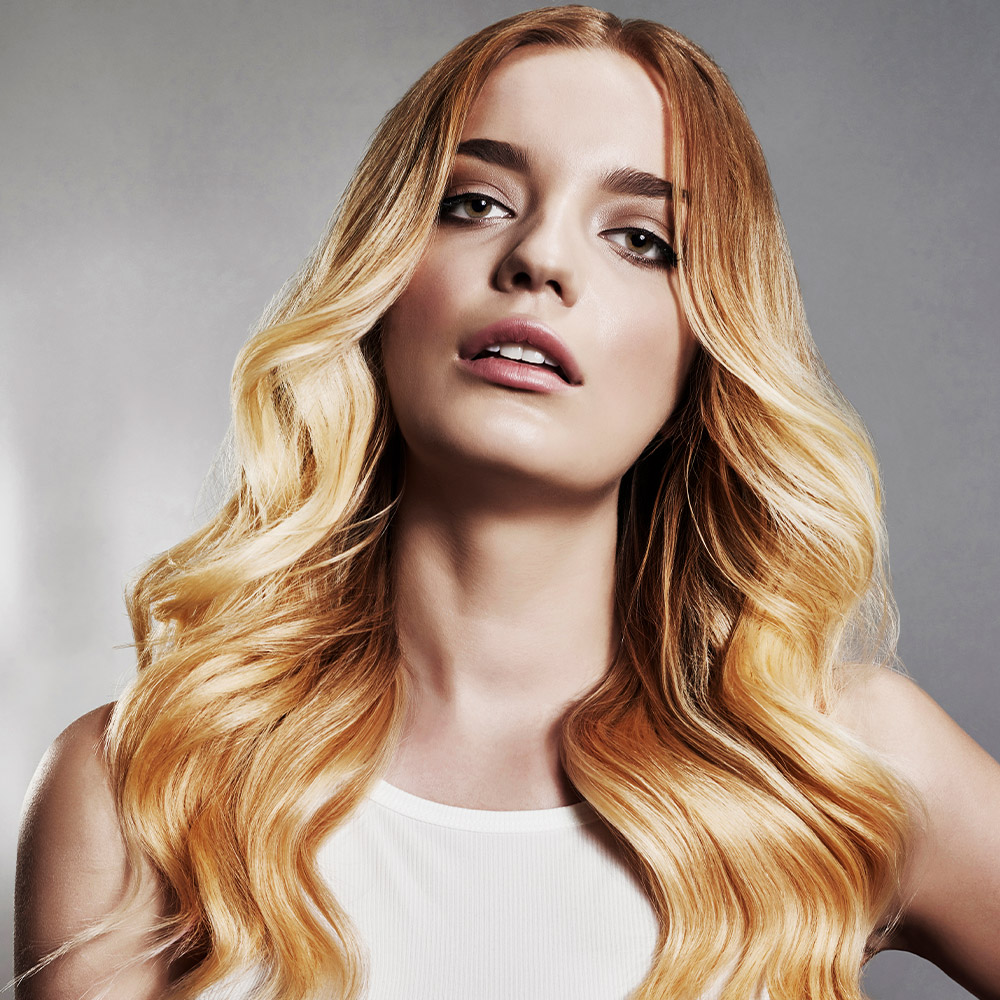
Texturizing (or thinning) scissors give you the power to create an endless range of textures, from soft and subtle to bold and edgy. It’s all about customisation and creative expression!
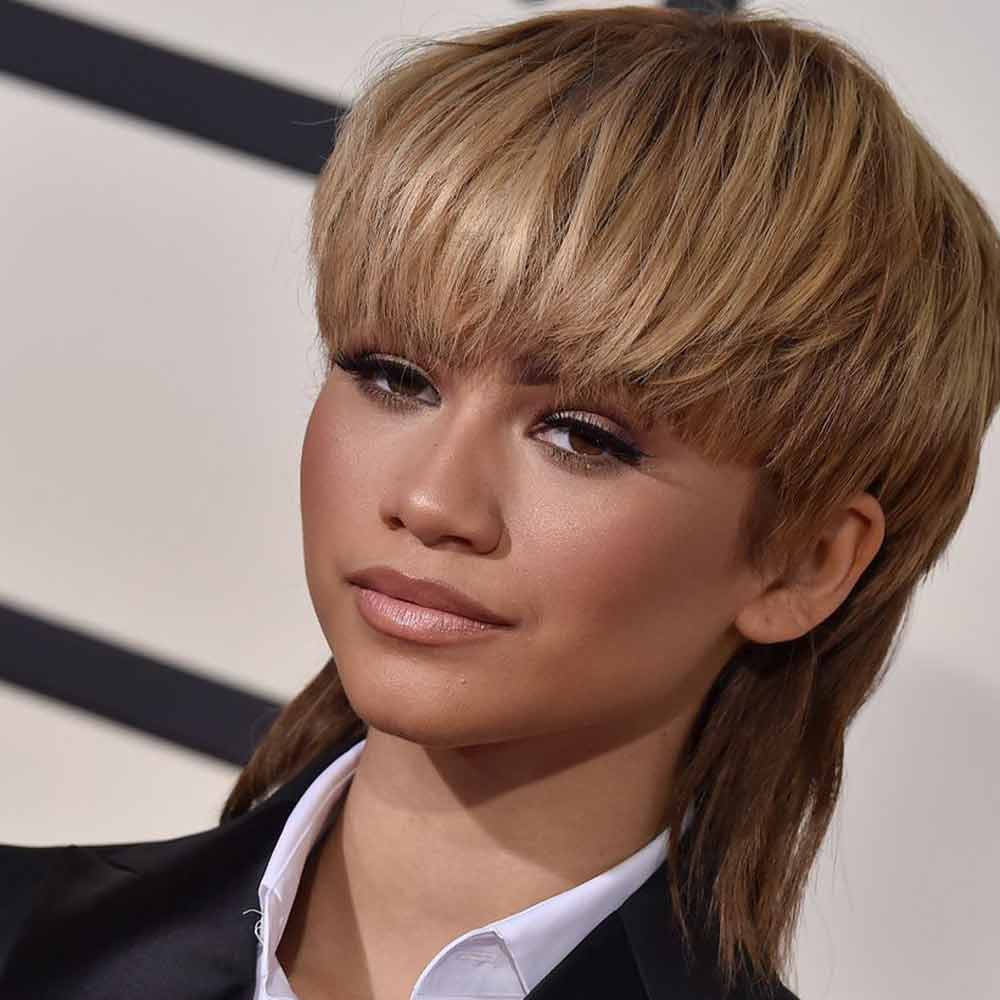
EFFORTLESS BLENDING
Say goodbye to harsh lines. The right texturising scissors blend layers seamlessly, ensuring a natural flow in your haircut. That is unless you choose to create a super-choppy texture!
HAPPY BOUNCY HAIR
The lightness achieved with texturising scissors means hair bounces and moves beautifully. Your clients will thank you for the extra oomph!
So, there you have it—the lowdown on mastering the art of texturizing scissors. It’s all about being selective, going vertical, and customising for that perfect texture. Now, armed with this knowledge, go forth and unleash your inner hairstyling connoisseur with some new texturizers. Your clients’ hair will thank you for the magical touch of a Kasho texturing scissors! Happy snipping!

Sophie has had a busy career, working in the industry for the past 27 years on a global level educating young minds through some of the world’s top haircare brands. She is widely passionate about cutting and has over the past few years gotten the barbering bug, further widening her repertoire. She believes that only the dead are done learning and bettering their skills. Sophie also makes time to work as a content contributor for Kasho.

Green Sasaba Texturizer – WT38B
Green Sasaba Texturizer – T38B
Green Texturizer – T30
Green Texturizer – T30B

EXCELIA Texturizer
CHECKOUT MORE ARTICLES
- All
- BUSINESS TIPS
- CREATIVE INSIGHTS
- HAIRCARE
- HEALTH & WELLBEING
- INDUSTRY NEWS
- PROFILES
- TOOL TIPS